|
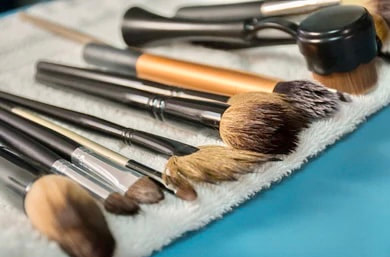
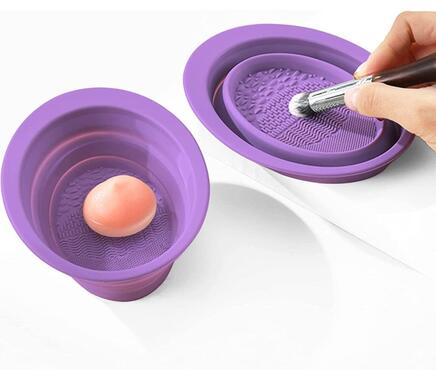
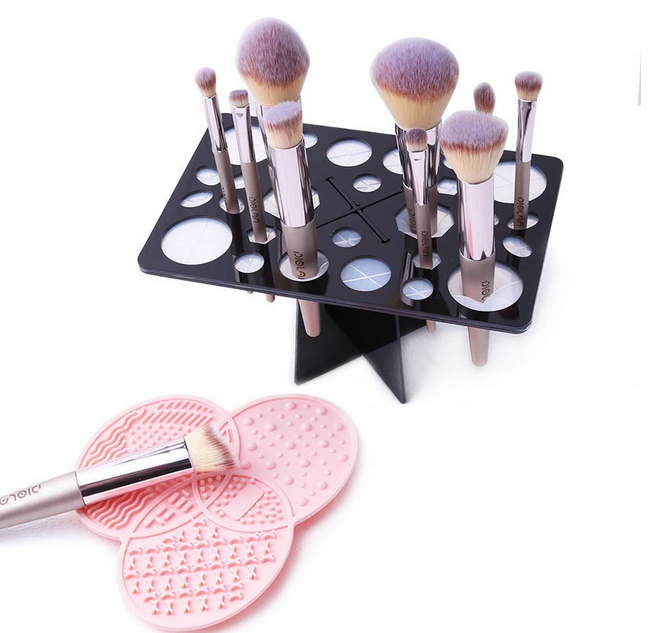
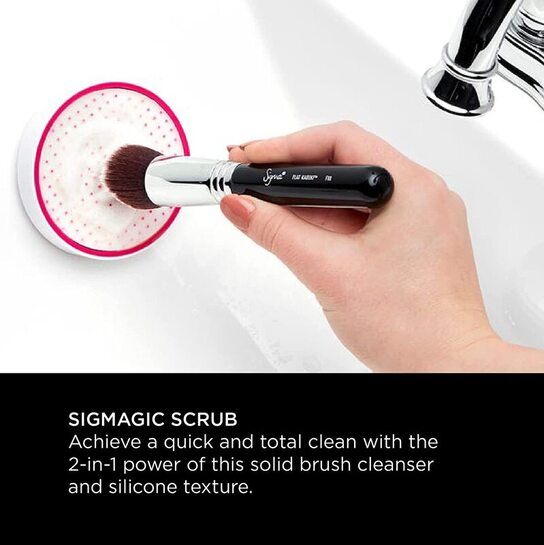
*Disclaimer - Please keep in mind that we may receive a commission at no cost to you when you click on our links and make a purchase. This however, has no bearing on our review and comparisons. Makeup brushes develop a lot of dirt and bacteria as we use them. To keep our skin clean and healthy, it is very important to make sure to keep your makeup brushes and other tools clean as well. By keeping your brushes clean and cared for, it also helps your quality brushes last much longer. How often you need to clean your makeup brushes does depend on factors such as: - Do you apply makeup daily? - Do you apply a heavy amount of makeup for each application? A good rule of thumb with regular use of brushes even if it is a few days a week, is to clean them once per week for creams and liquids. For powders, you can get away with once every 2 weeks unless you use highly pigmented and bold colors also if you change colors up often. This prevents the bold colors from getting muddied up and keeps the look clean. Always wipe the brushes in between uses to get extra residue off. You can use a dry color removal sponge, paper towel, lint free cloth, etc. If you do makeup on clients or anyone other than yourself using your brushes, make sure to clean them after each use. Here are the steps to cleaning your makeup brushes: 1. First, wet the hairs under the faucet using warm water with the brush hairs pointing downward – this will help prevent any water from staying in the ferrule (metal part) or handle part of the brushes. Be sure the water is not too hot because it can melt the glue that keep the brush together. If the water is too cold, then it can harden the residue in the brush and it will be hard to remove. 2. Use a makeup brush specific soap (such as Beauty Blender or Sigma) or a mild shampoo (baby shampoo). Squirt a little soap on your fingers and apply it to the hairs from ferrule (base) to tip. Gently squeeze the hairs from ferrule to hair tips over and over while adding a little water at a time. Rinse and repeat until the water runs clear. When rinsing, make sure you keep the brush hairs pointing downward. 3. After you have cleaned your brush, gently brush them on a clean paper towel or a lint free cloth and lay them to air dry on their side on a towel or on a brush drying rack hanging face down. Never let brushes dry with brush hairs up in a brush holder. The water can run down into the ferrule and over time will break down the glue holding the brush together. At this point, it’s a good idea to reshape the brush to prevent splaying. 4. Let brushes dry completely before using. Dry time will vary, depending on size and brush density. When you remove the dry brushes from the drying rack or pick them up from the towel, I like to work them into the palm of my hand in a circular motion 1-2 times to bring the softness and/ or fluffiness back into the brush. Thank you for visiting our site and checking out this article. <3 Here are recommended items to invest in for your brush cleaning: Click on the photos for the purchase link. |
AuthorLyn Orzech (Stahl) has been working with makeup since 1992 when she also first started fashion modeling. Throughout the years, she received an education in makeup artistry and became a Master Makeup Artist w/ over 40 certifications. Categories
All
Archives
June 2024
|


 RSS Feed
